Electromagnet Lab: Build and Test Your Own Electromagnet
Wind copper wire on a bolt, press a button, and pick up paperclips. A laser-cut stand with an engraved ruler and results table turns the classic electromagnet into a fair-test lab. No soldering.
Project Overview
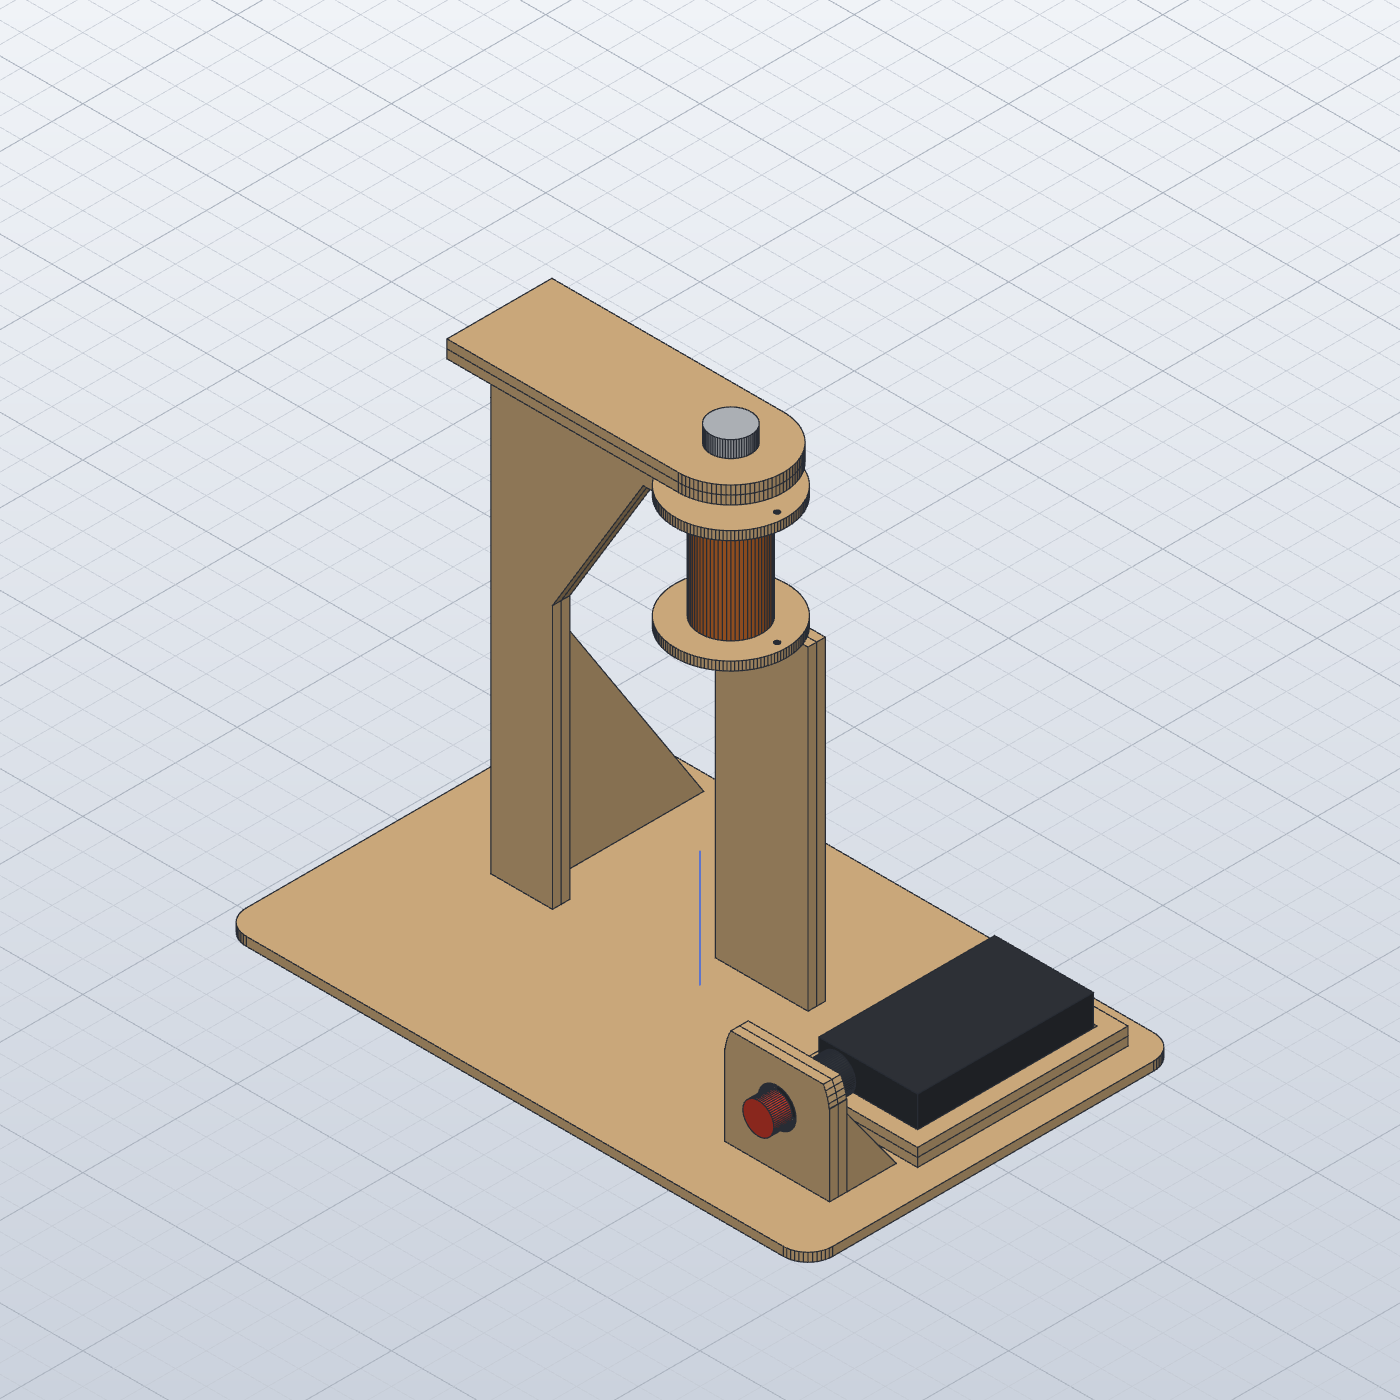
Wrap copper wire round an iron bolt, send a current through it, and the bolt becomes a magnet: switch the current off and the magnet is gone. This kit turns that classic experiment into a measuring lab. The electromagnet hangs from a wooden stand, an engraved ruler behind it measures how long a chain of paperclips it can hold, and the base has a table to record your results.
A push button means the coil only gets current while you press it, which keeps the wire and the cells from getting hot. The wires join with crocodile clips, so there is no soldering.
Designed and checked, not built yet
The fit, walls, engraving and G-code were checked by script, but nobody has built one yet. Cut the fit test first, and measure your bolt, button and battery holder.
At a glance
| Specification | Value |
|---|---|
| Size | Base 190 x 120 mm, 160 mm tall, bolt tip 100 mm above the base |
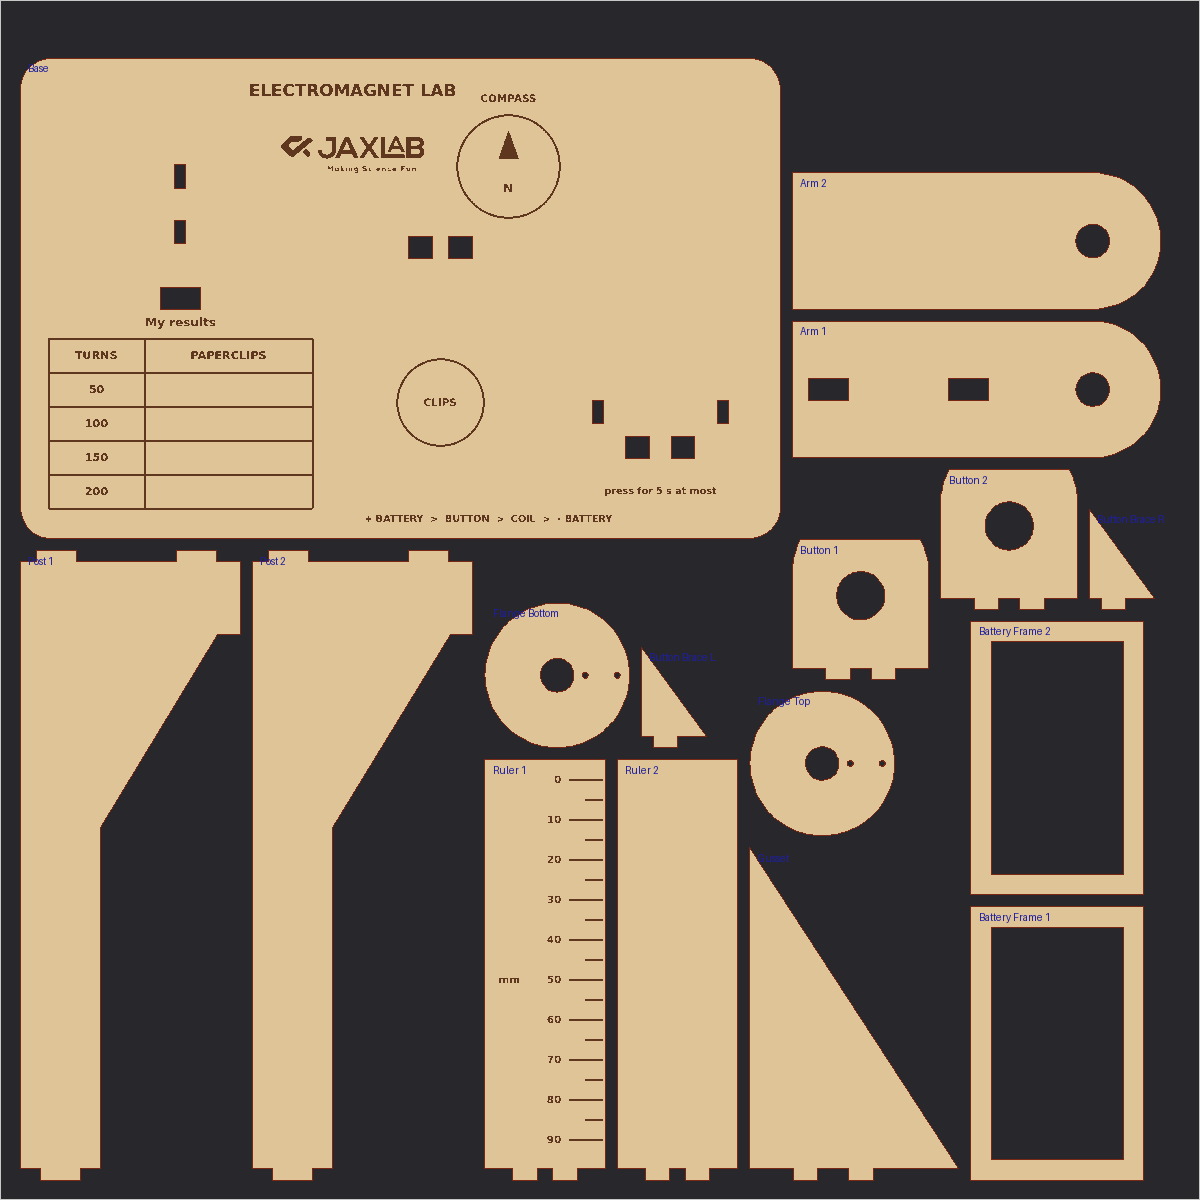
| Wood | 16 parts on one 300 x 300 mm sheet of 2.8 mm plywood, glued tab-and-slot |
| Coil | Up to 200 turns of 28 AWG wire in 3 layers, about 1.2 ohm |
| Power | 2 x AA, about 2 A, only while the button is pressed |
| Class | Primary 1 to 6 |
What it teaches
- Electricity makes magnetism: current in a coil makes a magnetic field, and an iron core makes it much stronger.
- A fair test: change one thing (the number of turns), keep everything else the same, and measure.
- Poles: reverse the battery and the compass needle swings the other way.
- Where it is used: scrapyard cranes, door locks, relays, loudspeakers and electric bells.
Short presses only
Press the button for 5 seconds at most. The coil is close to a short circuit, so the wire and the cells get warm if you hold it. Never connect the coil straight to the battery without the button.
Downloads
| File | Use |
|---|---|
| Fit test G-code | Bolt hole, button hole, wire hole, a tab and two slots |
| Sheet G-code | All 16 parts on one 300 x 300 mm sheet (engrave, then cut) |
| CAD files | STEP model and SVG sheets for LightBurn |
🛒 Materials Needed
- 1 sheet of 2.8 mm plywood, 300 x 300 mm
- M8 x 60 bolt and 2 M8 nuts (the iron core)
- About 6 m of 28 AWG enamelled copper wire
- 2 x AA battery holder with leads, and 2 AA cells
- 12 mm momentary push button (normally open)
- 3 crocodile-clip leads
- Paperclips and a small compass
- Sandpaper and wood glue
📋 Step-by-Step Instructions
Cut Fit test G-code first. Check that the M8 bolt slides through its hole, the push button fits its 12 mm hole and its nut tightens, and the test tab pushes snugly into the slots.
Then cut Sheet G-code. It engraves the base and the ruler, then cuts all 16 parts.
Step Images
All 5 steps completed — great work!